Overview of Site Building
Welcome to the myTRS family! We are very excited to have you as a client. myTRS is a semi-customizable system, which means you can personalize your registration site within the available capabilities of the system.
Before you start working on the system, consult this list of items you will need to gather to complete your registration site and be ready to take it live.
Ready to get started? Check out the site build checklist below.
Site Build Checklist
Below is the list of items you need to build your registration sites. Items 1, 2, 3 must be prioritized as they are the most time-consuming components to prepare.
-
Registrant Types – Will you have one or many registrant types? Different registrant types will have access to different profile questions, activities, background check packages, or prices for items.
-
Activity Groups – Will you group activities by days, locations, or committees? Activity groups will appear as headers to help registrants/volunteers find the activities and schedules they want easily.
-
Activities and Time Slots – This is the full list of schedules/activities that your registrants will sign up for. Please lay out the following:
- All the activities organized by activity groups.
- List of registrant types that have access to each activity.
- Recommended: Activity descriptions and images.
- Optional: Time slots: Start date and time & end date and time (Note: You can have activities without time slots)
- Optional: Capacity: How many people are needed/allowed for each time slot?
- Optional: Confirmation note for each activity (important information to show on registrants' confirmation email)
-
Event Start Date – this will appear on the home page & registration confirmation email.
-
Event End Date – this will appear on the home page & registration confirmation email.
-
Registration Closing Date – this is the date that the registration site will close to the public.
-
Profile Questions – List the questions you want to ask your registrants (i.e. age, shirt size, phone #)
-
Welcome Page Wording – An introduction to your organization and general registration's rules.
-
Graphic Banner – The banner is visible on every page of your registration site and on emails sent through the system
- Big banner for computer/laptop view: 1200 x 250 (.jpg format)
- Responsive banner for mobile view:350 x 150 (.jpg format)
-
Terms and Conditions (optional) – This can include waiver, general registration rules, refund policy, etc.
-
Thank-you message – A message that registrants see right after confirming their registration. Keep it short and use this message to remind registrants to check their email inbox for a registration confirmation from no-reply@my-trs.com.
-
Confirmation Email – This email will be sent from no-reply@my-trs.com to registrants/volunteers automatically with details about schedules/activities that they signed up for.
Once you start working on your site, you will see that you have many other options to customize it, add instructions, etc. However, this list is a good place to start.
Where do I start to build my registration site?
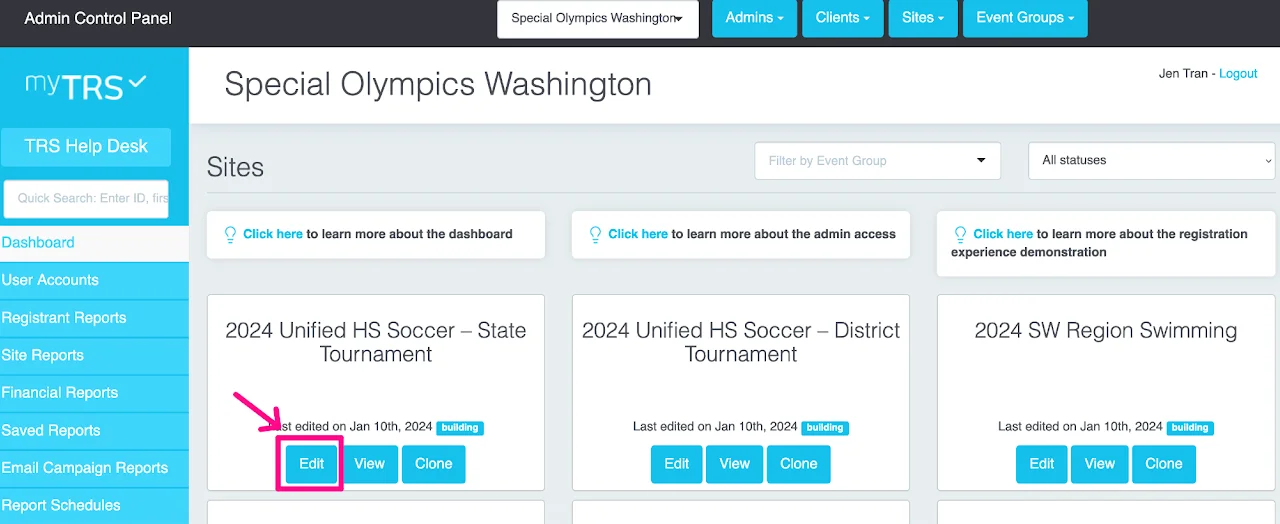
- Login to myTRS admin site (admin.my-trs.com)
- Locate the site you want to build
- Click
Editon the site card - Your site editor is on the left panel
- Follow the steps below to build, test, and launch your site
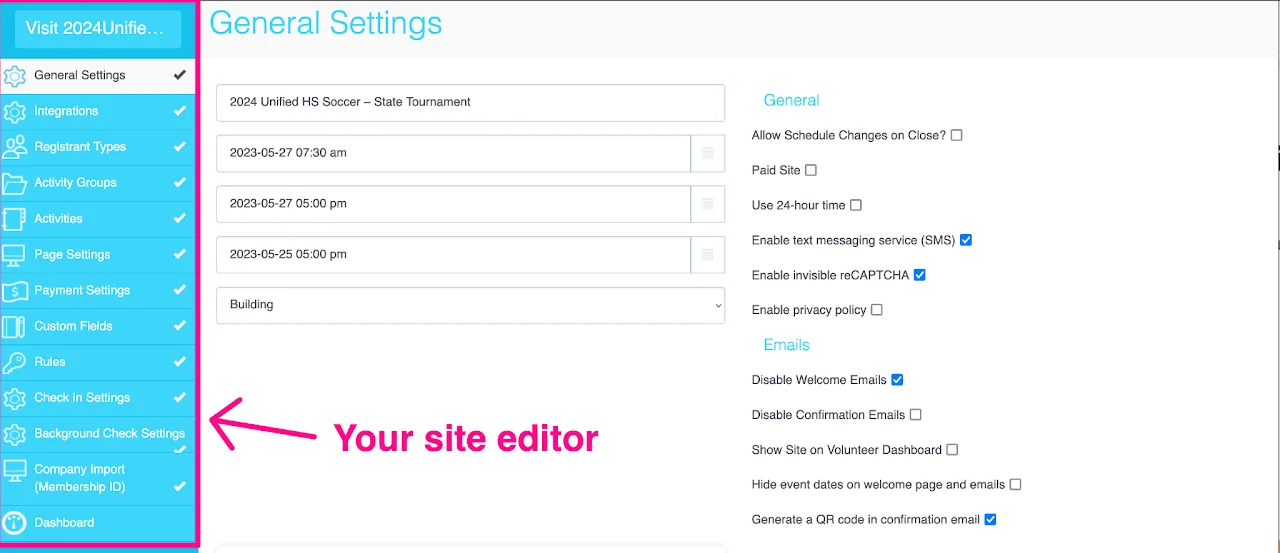
Once you're in, your site editor is on the left. Find the steps to build your site below.
Steps to Build, Test, and Launch site
- STEP 1: Welcome Page setup
- STEP 2: Registrant Types setup
- STEP 3: Activity Groups setup
- STEP 4: Activities/Schedules setup
- STEP 5: Profile Questions setup
- STEP 6: Waiver & Confirmation setup
- STEP 7 (optional): Payment Settings
- STEP 8 (optional): Integrations setup - background checks, Google Analytics, credentials printing
- STEP 9 (required): Test & Launch Site