Create email templates
Each registration site can have a separate set of email templates. Within each template, you can add mail merges for each registrant's profile information and schedule.
STEP 1: Go to Edit on the site that you want to create email templates for
STEP 2: Go to Email Templates
STEP 3: Add a template name, subject and email content.
In the email content, you can add mail merges by typing in {{ and mail merge fields will show up for you to select. You can add mail merges for:
- Registrant's schedule
- Registrant's first/last name
- Registrant's custom field answers (e.g: phone number, emergency contact, shirt size, etc.)
- Activity primary contacts (see Add primary contacts to emails)
Add primary contacts to emails
Use the {{primary_contact}} mail merge to let volunteers know who to reach out to for each activity they signed up for. Each volunteer only sees the primary contacts for their own activities.
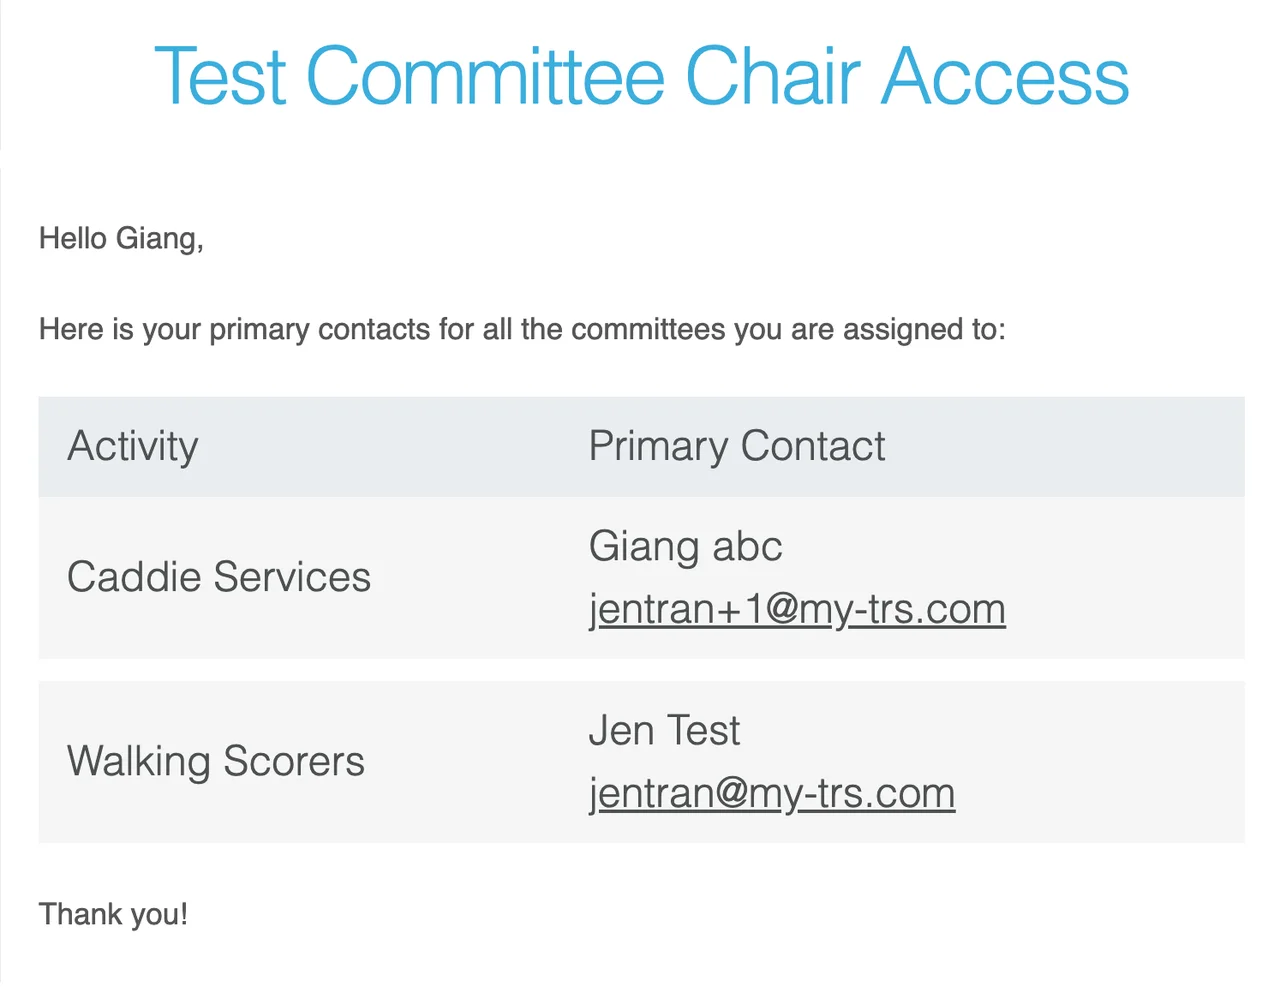
What volunteers will see
- One activity with a primary contact: the contact's name and email.
- More than one activity: a small table listing each activity and its primary contact (name and email), so they can tell which is which.
- No primary contact on any of their activities: N/A.
Set a primary contact for an activity
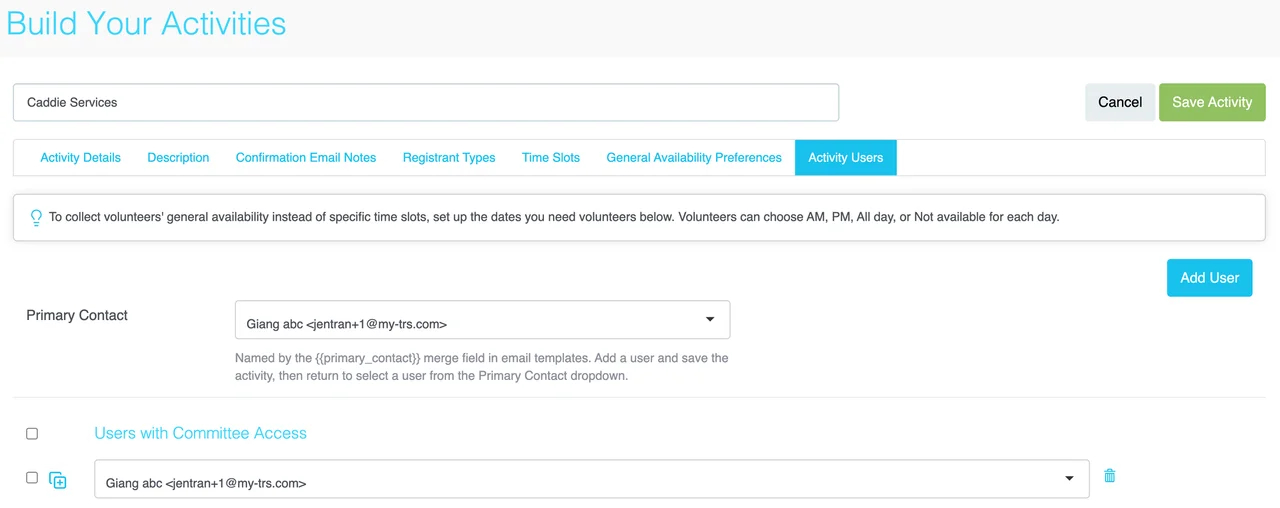
The primary contact has to be added as a user with committee access first. They'll show up in the Primary Contact dropdown after you save the activity.
STEP 1: Go to Edit on the site, then open the activity you want to set a primary contact for.
STEP 2: Go to the Activity Users tab.
STEP 3: Click Add User, select the person, then click Save Activity.
STEP 4: Go back to the Activity Users tab and select that person from the Primary Contact dropdown. Click Save Activity again.
Repeat these steps for each activity that needs a primary contact.
Add the mail merge to an email template
STEP 1: Go to Email Templates on the site.
STEP 2: In the email content, type {{ and select primary_contact from the mail merge list. You can also type {{primary_contact}} directly.
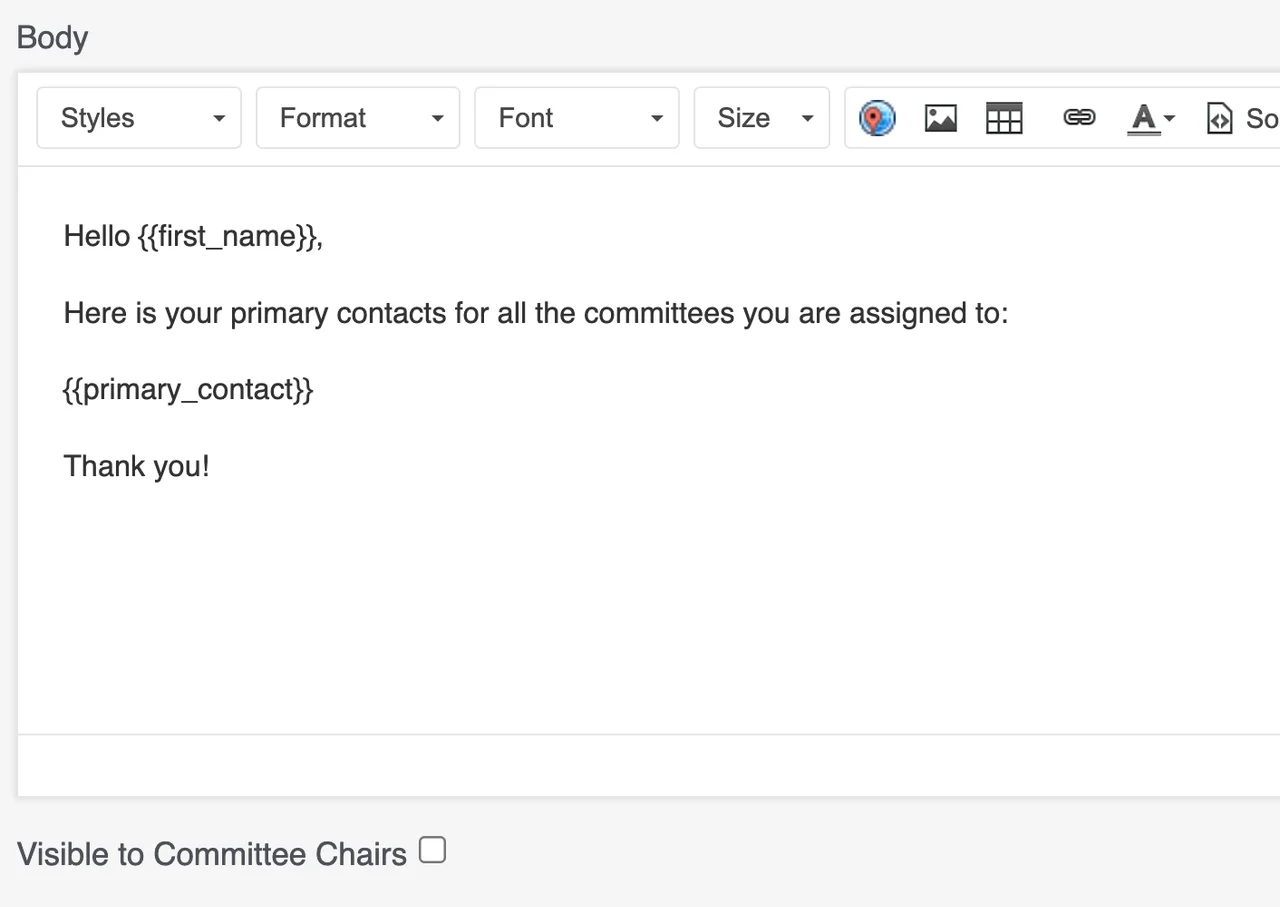
STEP 3: Click Send Test Email and choose a volunteer's registration to see how the email will look.
To check the table view, send a test email using a volunteer who signed up for two or more activities that each have a primary contact.
Need help? Book a call with TRS Support